Alluxio Namespace and Under File System Namespaces

Slack Docker Pulls

Introduction

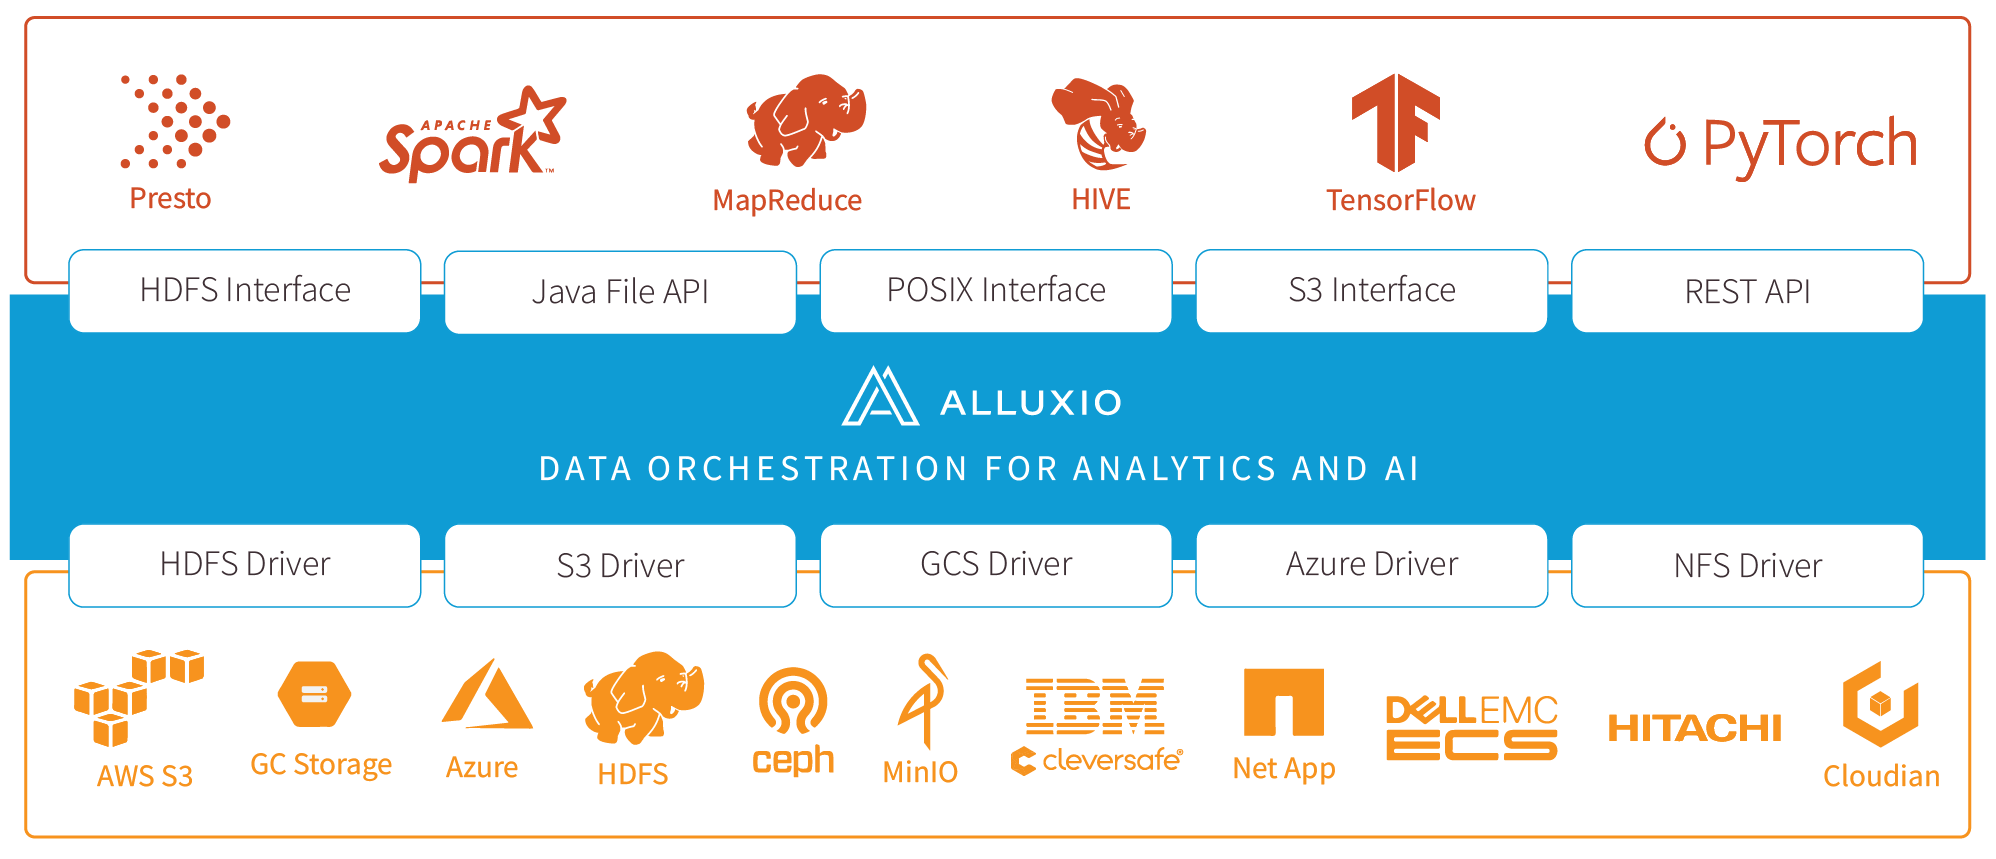
We use the term “Under File System (UFS)” for a storage system managed and cached by Alluxio. Alluxio is built on top of the storage layer, providing cache speed-up and various other data management functionalities. Therefore, those storage systems are “under” the Alluxio layer.

Each UFS possesses its own namespace. For example, a file (object) in AWS S3 s3://data-bucket/images/img-0001 is in the namespace of the AWS S3 storage.

By being a data management and caching layer on top of the UFS, Alluxio’s namespace is just made up of the namespaces of all independent UFSes.

The Alluxio Mount Table

Alluxio manages independent UFS namespaces by the Alluxio Mount Table. The mount table defines the mappings from Alluxio paths to different UFSes.

An example mount table looks like as below:

/s3-images          s3://my-bucket/data/images
/hive               hdfs://hdfs-cluster.company.com/user/hive
/presto             hdfs://hdfs-cluster.company.com/user/presto

The mount table from the example above consists of 2 columns, and 3 entries. The first column is the paths of mount points in Alluxio namespace. And the second column is the corresponding UFS paths that are mounted on Alluxio.

The first mount entry defines a mapping from an S3 path s3://my-bucket/data/images to an Alluxio path /s3-images. Therefore, any objects with the S3 prefix s3://my-bucket/data/images will be available under the Alluxio directory/s3-images. For example, s3://my-bucket/data/images/picture.png can be found at Alluxio path /s3-images/picture.png.

The second and third entries define mappings between the Alluxio paths /hive and /presto to two directories in the same HDFS, hdfs://hdfs-cluster.company.com/user/hive and hdfs://hdfs-cluster.company.com/user/presto, respectively. Similarly, files and directories under the two HDFS directory trees will be available at their corresponding Alluxio paths. For example, hdfs://hdfs-cluster.company.com/user/hive/schema/table/part1.parquet becomes /hive/schema/table/part1.parquet in Alluxio namespace.

Mount Table Rules

A mount table entry consists of two parts: a mount point in Alluxio, and a UFS URI that is mounted. For a mount table entry (mount point), there are a few rules.

Rule 1. Mount directly under root path /

A mount point in Alluxio MUST be a direct child of the root path /. For example, /s3-images, /hive and /presto are valid mount points. The root path /, is just a virtual node in Alluxio namespace. It does NOT map to any UFS path.

# This is invalid, you cannot mount to the root path directly
/          s3://my-bucket/

# This is invalid, a mount point can only be directly under /
/s3-images/dataset1   s3://my-bucket/data/images/dataset1

# This is valid
/s3-images   s3://my-bucket/data/images/dataset1

There is one exception to this rule and will be explained in a later section.

Rule 2. No nested mount points

Mount points cannot be nested. The Alluxio path of one mount point cannot be under the Alluxio path of another mount point. Similarly, the UFS path of one mount cannot be under the UFS path of another mount point.

# Suppose we have this mount point
/data     s3://bucket/data

# This new mount point is invalid -- the Alluxio path is under an existing mount point
/data/hdfs     hdfs://host:port/data

# This is also invalid -- the UFS path is under an existing mount point
/images   s3://bucket/data/images

is an invalid mount table configuration, as s3://bucket/data is a prefix of s3://bucket/data/images. If this were allowed, a file s3://bucket/data/images/picture.png would have two valid locations in Alluxio: /data/images/picture.png and /images/picture.png.

The two rules above ensure that all mount points in Alluxio namespace are directly under root /. This keeps mount points independent of each other, both in Alluxio namespace and in UFS namespaces. Therefore, it is easy for admins to add and remove mount points.

Configure the Mount Table

Alluxio supports loading mount table entries from different persistent backends. The options currently supported are:

  1. An etcd database (ETCD mode)
  2. A static configuration file (STATIC_FILE mode)
  3. Not using a mount table (NONE mode)

ETCD mode

Alluxio supports using an etcd database to store the mount table information. By storing the mount table in etcd, all Alluxio processes (clients, workers, fuse, etc.) will read etcd for the mount table information. The mount points are stored under path prefix /mounts in etcd.

To use etcd as the mount table backend, add the following configurations to alluxio-site.properties:

alluxio.mount.table.source=ETCD
alluxio.etcd.endpoints=<connection URI of etcd cluster>

Set alluxio.etcd.endpoints to be the list of instances in the etcd cluster, e.g.

# Typically an etcd cluster has at least 3 nodes, for high availability
alluxio.etcd.endpoints=http://etcd-node0:2379,http://etcd-node1:2379,http://etcd-node2:2379

Alluxio processes will connect to etcd when they start and requires the etcd to be up. Then they regularly poll etcd for updates on the mount table. The poll interval is specified by the configuration below in alluxio-site.properties.

# By default a poll happens every 3s
alluxio.mount.table.etcd.polling.interval.ms=3s

In a large cluster with thousands of Alluxio clients and hundreds of Alluxio workers, you may want to use a larger interval to reduce the pressure on etcd. If your mount table is seldom updated, feel free to use a much larger interval.

When using etcd for mount table storage, you can add/remove mount points at runtime. Refer to section Update the Mount Table for more details. Note that the update on the mount table takes at most one poll interval to take effect on an Alluxio process (client, worker, fuse, etc.).

STATIC_FILE mode

Alluxio also supports using a static configuration file for mount table information. The configuration file is a simple text file that looks like:

# lines starting with "#" are comments
/s3_bucket   s3://bucket/dir
/hdfs        hdfs://namenode/user/data

Each line defines a mount entry, with the mount point in Alluxio namespace in the first column, and the UFS URI in the second. The columns are separated by one or more whitespaces.

The configuration file should be accessible and readable by the Alluxio processes. It’s easiest to put it inside the Alluxio configuration directory along with the other critical configuration files.

To enable the static mount table, add the following configurations to alluxio-site.properties:

alluxio.mount.table.source=STATIC_FILE
alluxio.mount.table.static.conf.file=${alluxio.conf.dir}/mount_table

It’s important to note that all Alluxio processes need to see the same mount table. The same configuration file should be present on each node running those Alluxio processes.

A mount table based on a static configuration file is not mutable. To make changes to the mount table, you need to make changes to the configuration file, propagate the changes to all Alluxio nodes, and restart the Alluxio processes.

This mode is best used in a testing environment to quickly configure the mount table and bootstrap the Alluxio cluster. However, due to the operations overhead in maintaining the same mount table file across the cluster, it is not the best mode for a production environment, unless in your environment the mount points almost never change.

NONE mode

Alluxio also supports mounting to the Alluxio root path / directly. This is essentially NOT having a mount “table” because there will be only one entry.

Because we only need to configure for the Alluxio root path, we do not need an etcd database or a separate file, just configure as the example below in alluxio-site.properties:

alluxio.mount.table.source=NONE
alluxio.dora.client.ufs.root=hdfs://host:port/data

This is the default mode in Alluxio, for an easy test deployment with the minimal configurations. If you need to change the UFS path that Alluxio root / maps to, you will need to update the configuration file, propagate it to all nodes and Alluxio processes, and restart the Alluxio services. it is not the best mode for a production environment, unless in your environment the UFS path never changes.

This mode provides the same behavior as Alluxio Community Edition.

Configure for UFS

After the mount points are specified, when Alluxio processes talk to the corresponding UFS, they also need UFS-specific configurations, like security credentials.

Currently, Alluxio only supports reading configurations for each UFS from the configuration file and/or environment variables. And the configurations will be shared by all mount points. For example:

# Configure the S3 credentials for all mount points
s3a.accessKeyId=<S3 ACCESS KEY>
s3a.secretKey=<S3 SECRET KEY>

# Configure HDFS configurations for all mount points
alluxio.underfs.hdfs.configuration=/path/to/hdfs/conf/core-site.xml:/path/to/hdfs/conf/hdfs-site.xml

In other words, Alluxio does not support using different configurations for different mount points. This is a known limitation and will change in future versions.

Manage the Mount Table

List the mount table

You can list the current mount table using Alluxio command line:

$ bin/alluxio mount list

Update the mount table in ETCD mode

In ETCD mode, the admin can utilize Alluxio command line to add/remove mount points.

# Add a mount point to an S3 bucket
$ bin/alluxio mount add --path /s3 --ufs-uri s3://data/

# Add a mount point to an HDFS path
$ bin/alluxio mount add --path /s3 --ufs-uri hdfs://host:port/data/

# Add a mount point to a local path for testing
$ bin/alluxio mount add --path /local --ufs-uri file:///Users/bob/data

# Remove a mount point by its Alluxio path
$ bin/alluxio mount remove --path /s3/

Update the mount table in STATIC_FILE mode

To add new entries to or remove entries from the mount table, you can make appropriate changes to the configuration file specified by alluxio.mount.table.static.conf.file. This updated configuration file should be made accessible to all Alluxio processes. And it takes a restart for those Alluxio processes to reload the file and observe the new configuration.

Update the mount table in NONE mode

Update the configuration property alluxio.dora.client.ufs.root, make sure the new configuration is accessible to all Alluxio processes, and restart those processes for it to take effect.